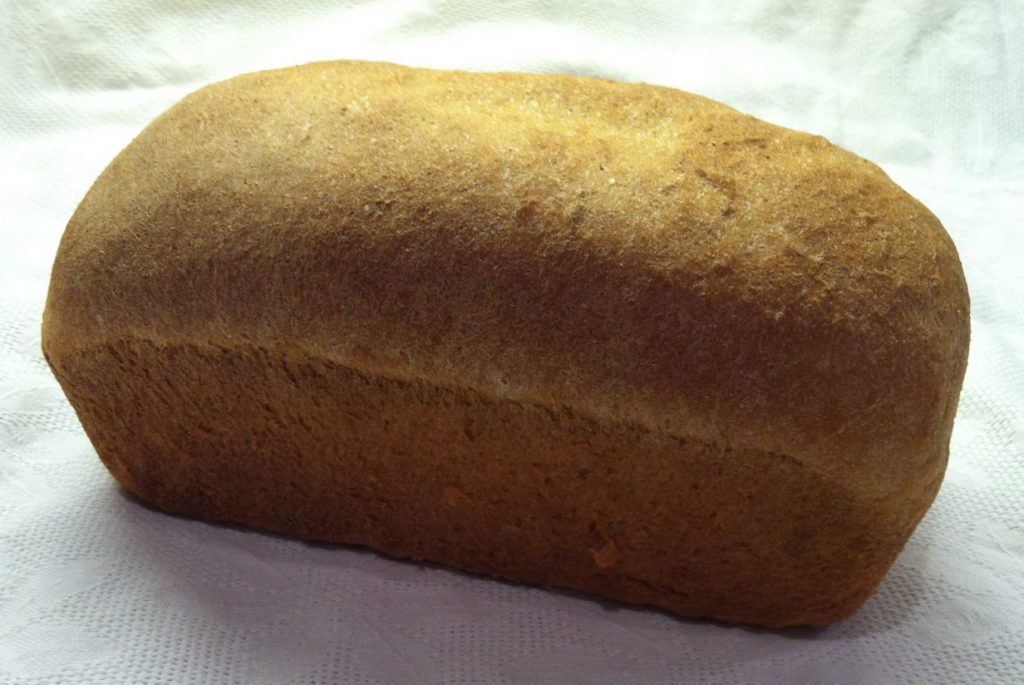
Let’s make some Soft & Yummy full of Nutrition Whole Wheat Bread
Making whole grain loaf bread can be a bit of a challenge. It could be said it’s part science and part art. But have no fear, if you are neither scientist nor artist, following these bread making tips will help you on your way to making wonderful loaf whole grain breads.
When talking loaf breads most are referring to yeast breads. There are some basic “rules” for making loaf yeast breads and these are just a few that have helped me in my bread-baking-endeavors. Yes, yeast breads typically have a “rise” time, but the end result is sooo worth the wait! Also, when working with freshly milled flours, there can be a little bit of a learningcurve, so be patient, for you will not regret your efforts.
Some basic "rules" for successful yeast loaf breads
Click a link below to jump to the desired section.
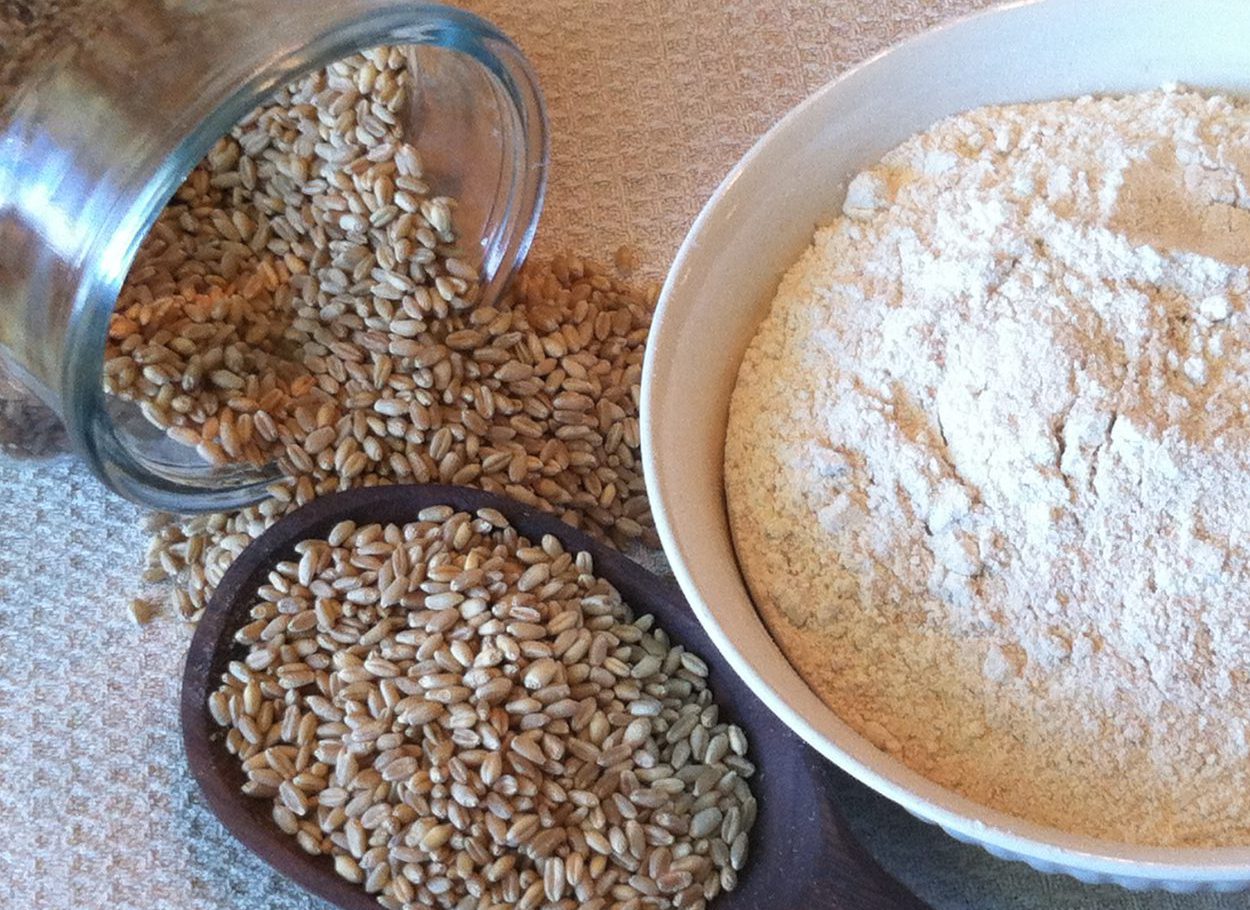
Flour is the first place to start. Because I want the most nutrition available I only use freshly milled whole grain flours. What does that mean? Well, I have a grain mill, I buy whole wheat berries and other grains and mill them in my own kitchen. Yes, I mill my own flour and so can you. It’s so easy! All you need is a grain mill and some grain.
Freshly milled whole grains are packed with tons of nutrients which are absolutely necessary for the body. If you do not mill your own flour yet, simply use a mix of unbleached white flour and some whole wheat flour (substituting a quarter to half the white flour).
In order to stay on the subject of bread making tips, I won’t cover the nutritional details here. See the following posts & pages for details:
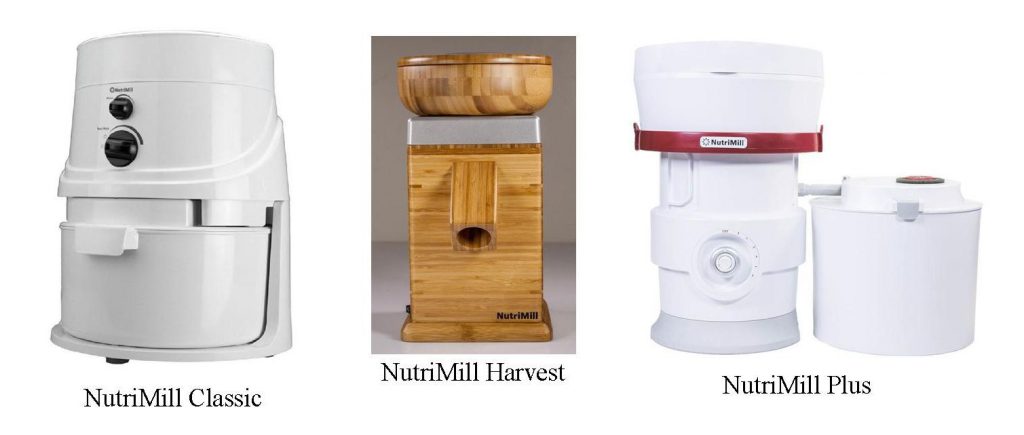
Click here to check out which grain mill is right for you.
Liquids:
Moisture plays a huge roll in the bread-making process. The amount of liquid used determines the amount of flour needed. In other words, start with your liquids (water, oil, etc.) in your bowl first, add your sweetener, salt, gluten and lecithin; then, add your flour and instant yeast on top. Note: If using dry active yeast, proof first in the warmed water and sweetener til bubbly, then follow as above.
Working with fresh milled flour – Since moisture is a key player, when working with fresh milled flour you really don’t know how much moisture is in the grain; was it grown during a wet season or dry season?
The amount of moisture in the grain will affect the liquid to dry ingredients ratio. In other words, if the grain was grown during a dry season, not much rain-fall, then the grain will not have much moisture within, so when the liquids are added to the flour, the flour will absorb more of the liquids than it would if grown in a wet season. By allowing the dough to rest a bit, about 10-20 minutes, before kneading, will give the flour time to absorb the moisture for a softer bread, otherwise your bread can come out dry and crumbly.
Add just enough flour
Add just enough flour until the dough cleans the sides of the mixer bowl completely. The bread dough should be slightly sticky. Adding too much flour will create a compact dense loaf; what I call brick bread. It is always better to error on the side of too sticky than too dry a dough; for you can always add more flour, but it’s tough to add more liquid.
Warm your liquid
Your liquid should be warmed for the yeast to activate. It should be somewhere in the 110-115 degree range (baby-bottle warm). Warm-hot tap water is usually sufficient. If the liquid is too hot it can kill your yeast; if too cold then the rise-time will take longer. I recommend having an instant read thermometer on hand for easy testing.
Water – Most recipes call for water, but other liquids will work as well. Water will contribute to a chewier inside and crispier crust.
Milk – May be substituted for some or all the water, just be sure to warm it. Milk adds mild sweetness and lends to a softer texture and browner crust.
Buttermilk – As with milk, some or all the water may be substituted, again, remember to warm it as described above. Buttermilk or even yogurt adds a lovely tangy flavor and will create a more tender, softer texture.
Fats:
Most any healthy fat will do:
Cold Pressed Extra Virgin Oil (my first choice)
Coconut Oil virgin or expeller-pressed (non-coconut flavor)
Melted butter
I do not recommend refined canola, corn, vegetable (soybean) or sunflower oil, unless it is organic and cold-pressed.
Sweeteners:
For yeast breads you will need some sweetener for the yeast to “eat”. Depending on the bread you are making only a smidgen of sweetener is actually needed. You can use pretty much any type of sweetener in your bread, but I choose organic and prefer the following:
Honey – Honey is a great sweetener. It has lots of nutrition. I recommend only using raw honey; and buying local is even better. Using local raw honey can help with some sinus allergies because the bees use the pollen from your area.
Sucanat – Sucanat, which stands for sugar-cane-natural is dehydrated cane juice with the molasses still in it. So, it does have a stronger molasses flavor. Because it is unrefined sugar it still maintains a few trace nutrients which include: iron, calcium, vitamin B6, potassium and chromium, therefore the body metabolizes it better. You may substitute it 1:1 for refined white sugar, which by the way has absolutely no nutritional value as well as being bleached.
Raw Cane Sugar – Dehydrated cane juice otherwise known. More processed than the Sucanat, but still a better choice than refined, bleached white sugar.
Other Ingredients:
Below are a few more ingredients needed for yeast loaf bread making. For more details on all the ingredients check out my Ingredients page HERE.
Yeast – Instant or dry active yeast – My preference is instant yeast because you don’t have to proof it first. Proofing yeast: you know, mix it with warm water and sweetener and wait for it to bubble. Instant yeast, you just throw it in and get to mixing. I like simple. Dry active yeast will yield deeper flavor simply because the rising time is much longer; longer rise more flavor development.
Note:If using dry active yeast, your dough usually will do best with two rises: once in the bowl and once after shaping.
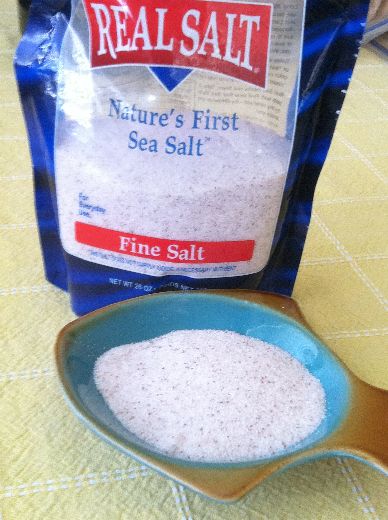
Salt – Salt plays many rolls in bread making. It is used to flavor as well as complimenting the other flavors in your bread. It helps control the yeast action by slowing the rise-time, allowing the developing of flavors. The gluten is strengthened by salt, thus creating a better texture. Be aware, salt can kill your yeast, so it’s better to add it separate from the yeast. My go-to is Redmond’s Real Salt Natural Sea Salt brand. It is completely unprocessed and maintains all its nutrients and trace minerals. Himalayan Pink Salt or Celtic Sea Salt are also good choices.
Optional Ingredients:
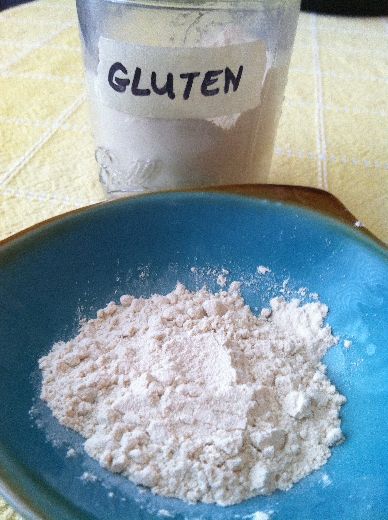
Gluten – Also known as Vital Wheat Gluten. Whole wheat and some other grains naturally contain gluten. Extra gluten is a totally optional ingredient, simply used to help your breads rise lighter and fluffier. A little goes a long way, so a teaspoon to one tablespoon per four cups of flour is sufficient. Sometimes you may need a little assistance, especially on humid days.
Humidity
Humidity can affect how well your loaf rises. So, when the humidity is a little higher you may need a little bit of gluten. Keep in mind, adding too much gluten will change the flour to fiber ratio, thus making your recipe more like store-bought white flour, which in turn defeats the purpose of freshly milling whole grains. You see, commercial white flour is basically just gluten and starch (not to mention the sifting and bleaching). That’s a contributor to why so many people are having trouble digesting the white flour products; it’s not necessarily the gluten, but the ratio. Again, gluten is totally optional.
Lecithin – Lecithin is also naturally found in wheat, aiding in the metabolizing of fat and cholesterol. I always recommend adding extra. Lecithin is an emulsifier, which helps create a smooth, softer loaf. Lecithin can come from sunflowers and soybeans (however, I do not recommend the use of the soy form); I only use non-GMO sunflower lecithin or use Rice Bran Extract as a lecithin alternative. Lecithin is an optional ingredient.
Eggs – Add nutrition, flavor, and a warm color. Eggs are a leavening agent, therefore will aid in the rising of the bread; providing strength as well. Because of their high fat and lecithin content, eggs help give a smooth texture to the dough.
Flax Seed – Ground flax seed adds lots of nutrition including those all-so-valuable fatty acids and oils. The oils help create a soft texture to the bread. As with the grains grind whole flax seed fresh using a coffee grinder or blender; never ever put flax seed in your grain mill.
HOW TO'S
Mixing the Dough:
Whole grain recipes will many times give a flour-needed range (6-9 cups). This is because the moisture in the grain itself can vary; therefore, the amount of flour actually required can also vary. Since we don’t know about the moisture content in our freshly milled flour, start with only half (3 of the 6 cups) of the flour added to your liquids (as described in the above step), blend well, allow to rest a bit to absorb some of that moisture. This step goes for those hand kneading as well.
Working with fresh milled flour – Since moisture is a key player, when working with fresh milled flour you really don’t know how much moisture is in the grain; was it grown during a wet season or dry season? The amount of moisture in the grain will affect the liquid to dry ingredients ratio. In other words, if the grain was grown during a dry season, not much rain-fall, then the grain will not have much moisture within, so when the liquids are added to the flour, the flour will absorb more of the liquids than it would if grown in a wet season. By allowing the dough to rest a bit, about 10-20 minutes, before kneading, will give the flour time to absorb the moisture for a softer bread, otherwise your bread can come out dry and crumbly.
Kneading:
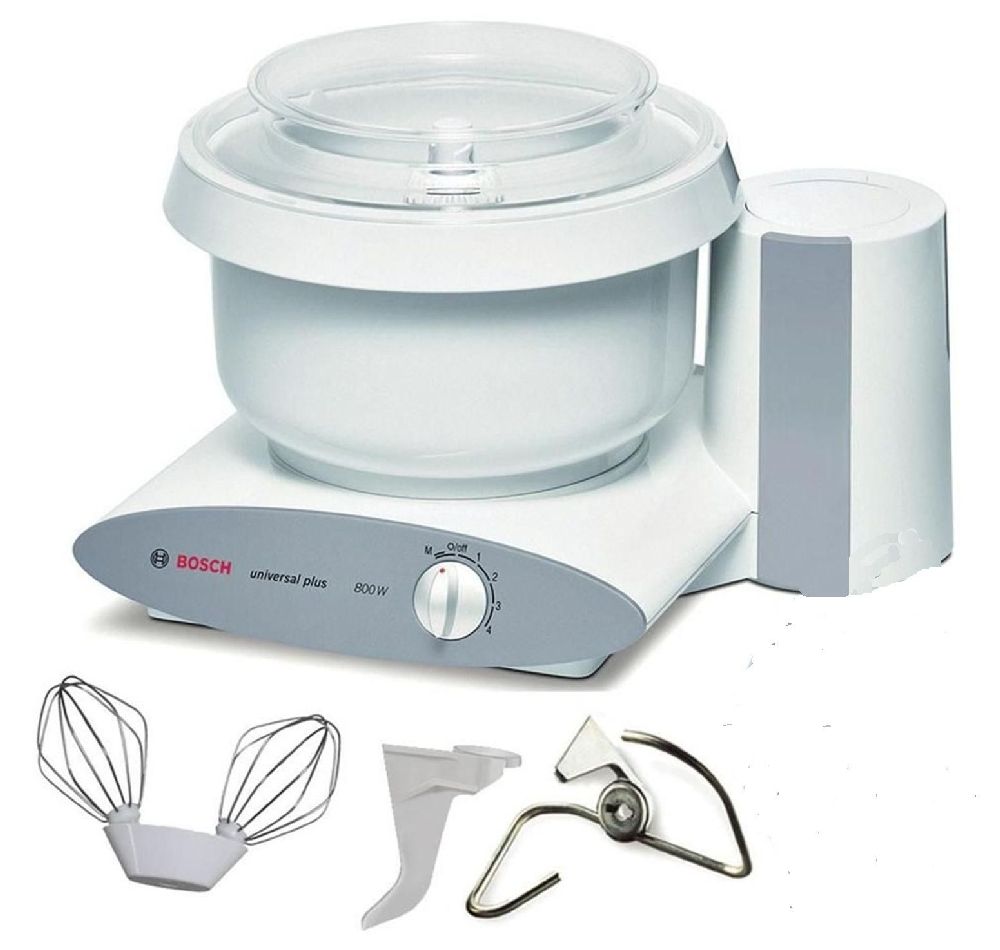
Kneading the dough is a very important aspect of yeast bread baking. In order for yeast breads to get tall and fluffy the gluten strands in the wheat need to straighten out, which contributes to the rising process. A mixer with a dough hook sure makes bread making easier; I use the Bosch Universal Plus Mixer. Typically knead the dough for 6-8 minutes.
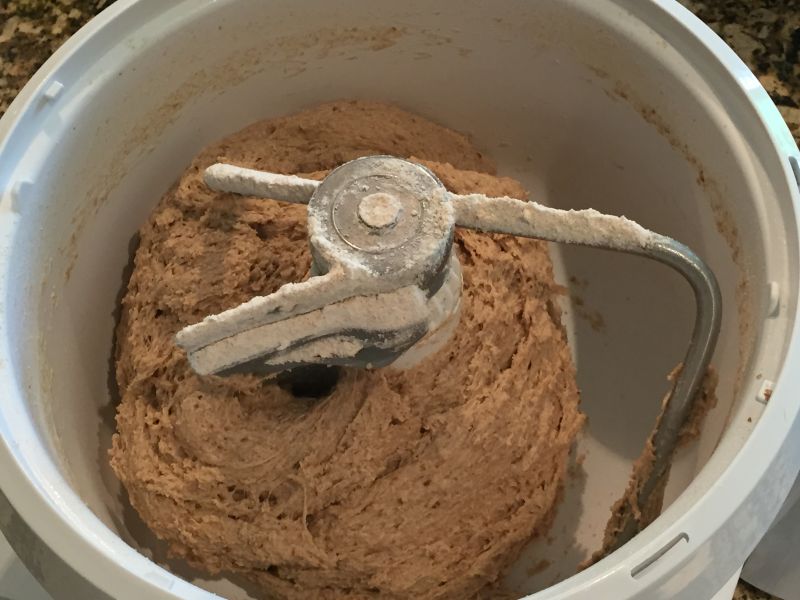
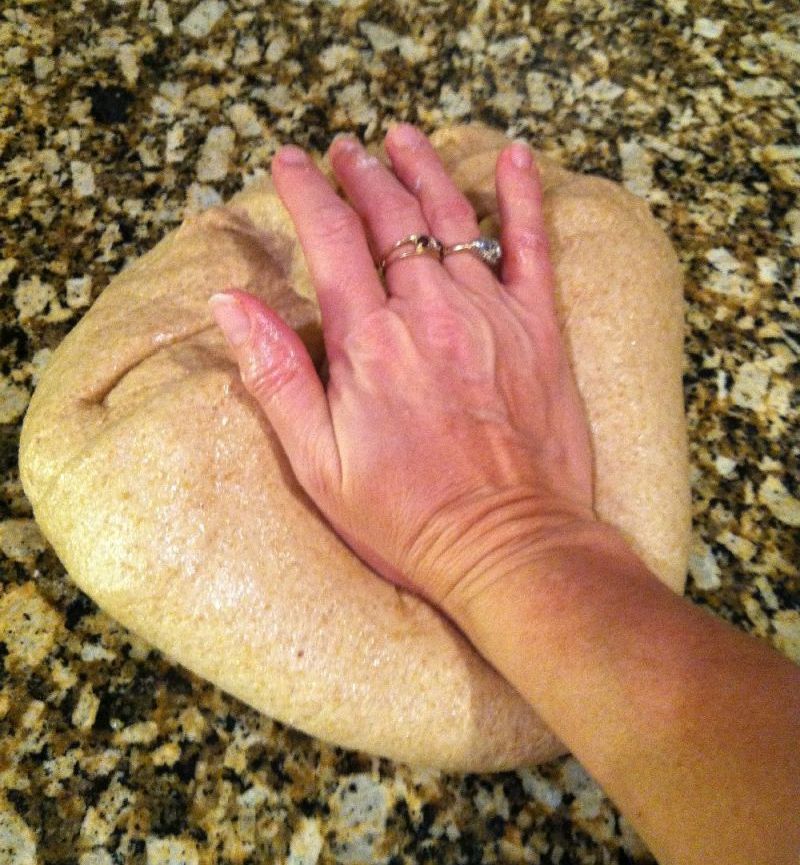
If kneading by hand, stir in as much flour as possible in the bowl, working in with your hands if necessary. Transfer dough to your work surface and work in as much additional flour as needed to form a soft, but sticky dough. (see work surface note below). It will take a little longer by hand, about 10-25 minutes. Be sure to knead the dough long enough. The dough can be kneaded too much, so keep with the directions of your recipe. To test if the dough is sufficiently kneaded, with oil on your hands, cut off a golf ball size piece of dough, knead it with your fingers a few times, then gently stretch the dough to make a thin flat piece. You should be able to hold the piece up to a light and see the light through it. If the dough easily breaks then more kneading may be required or the dough is too dry; work in a little more liquid. Your dough may also come out a little “shaggy” like mine; that’s OK. You just don’t want it stiff or dry; it will be heavy and not rise well. Again, it may need more liquid.
NOTE: If using dry active yeast, this would be the time for your first rise. If dough is in a mixer, no need to mess up another bowl, simply smear a little oil around the inside sides of the bowl, cover with plastic wrap or light damp kitchen towel. (In the Bosch, simply leave both covers on the bowl.) Allow dough to rise according to recipe directions.
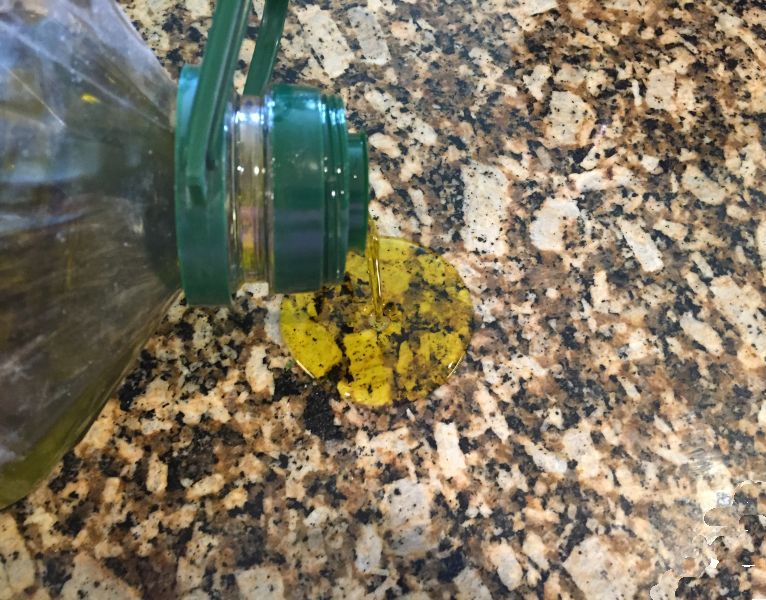
Use olive oil on your hands and your work surface. When making bread, simply spread a thin layer of olive oil on the surface to knead and shape your dough. Best not to use flour unless your dough is extra sticky, then only add a little flour by the tablespoon. Added too much extra flour can make your dough dense, heavy, and dry.
Note: If kneading completely by hand, and after all recipe flour has been incorporated, switch to oil on your hands and work surface to keep from being tempted to add more flour. We don’t want heavy and dense.
Oil, not flour on your work surface
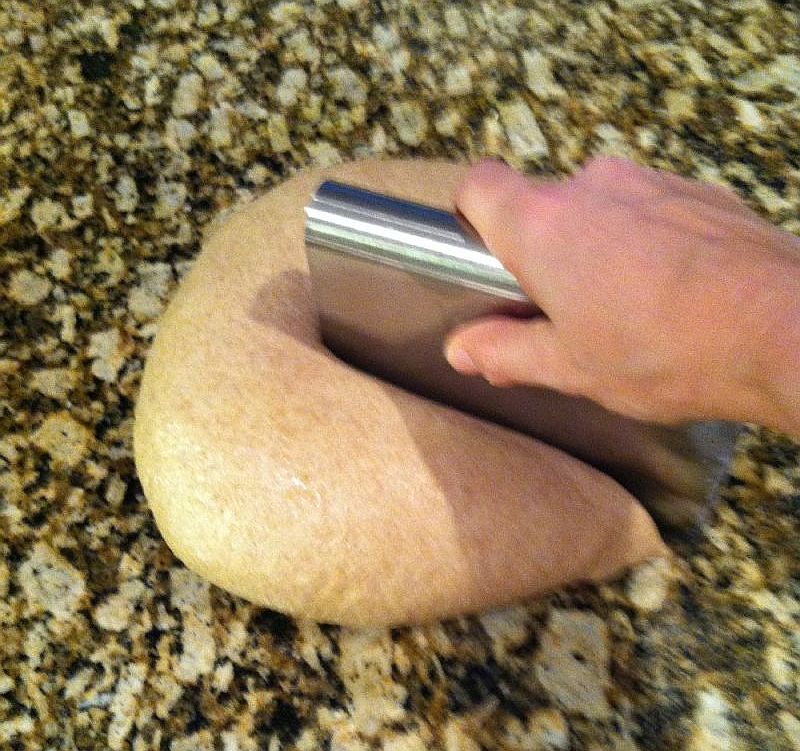
Weighing the Dough:
Cutting – Again, with olive oil on your hands and work surface, turn out dough and knead a few times by hand. Using a dough cutter or sharp knife cut dough into portions. Note: Bread dough does not like to be torn, so cut the dough instead.
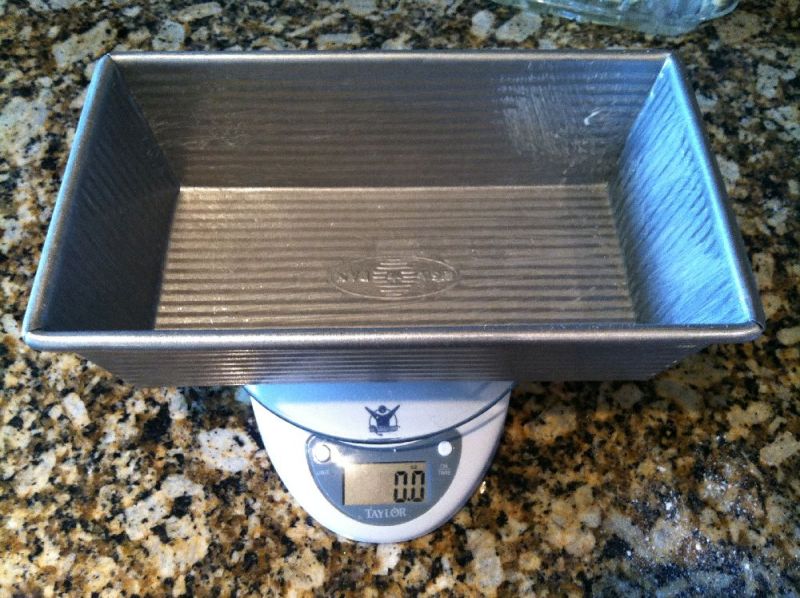
Weighing – It is wise to weigh your dough for your specific pan. Different size pans require different amounts of dough; not to mention if you are baking multiple loaves at one time they all need to weigh the same so they will cook evenly. I use a digital kitchen scale for best results. To calibrate your scale, place the pan you will use on the scale plate, press the start button, this will bring the weight to zero. Place a portion of dough in the pan till it reads the necessary amount:
Note: For stuffed breads use 2 oz. less dough per pan. Be sure to grease your pan ahead of time; I use butter or coconut oil.
Pans:
A quick note about bread pans: Yeast breads need pans with tall sides to support their weight.Silicone coated aluminized steel (USA brand) or other heavy gauge steel, stainless steel, stoneware, silicone or glass are the pans of choice. Bread pans come in many sizes, so choose the size that will best fit your needs. My preference is the 9″ x 5″ USA Stainless Steel Bread Pans. This size is perfect for sandwich bread and the make is of heavy gauge aluminized steel with a unique silicone coating, PTFE and PFOA free. Love the USA Pans!
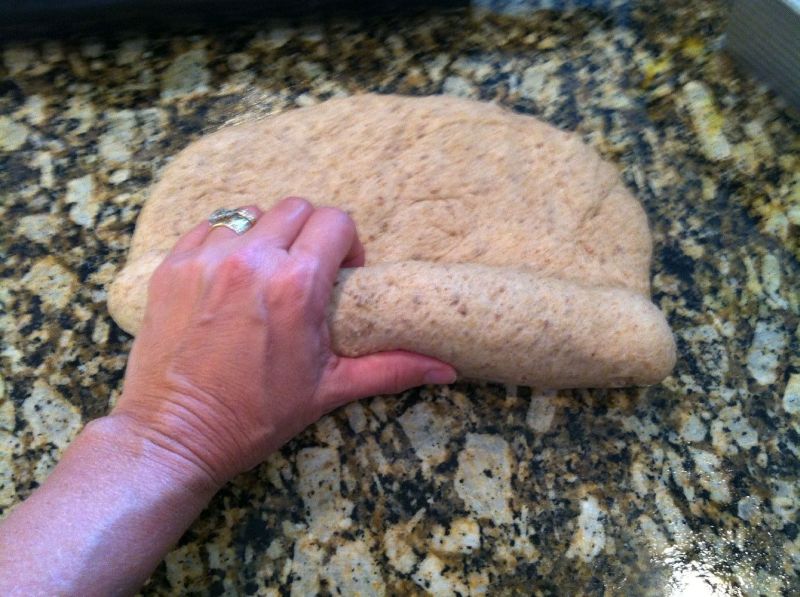
Using a rolling pin or your hands press the dough into a simple rectangle about an inch or so thick and as wide as your bread pan. No need to be precise, just even across the rectangle.
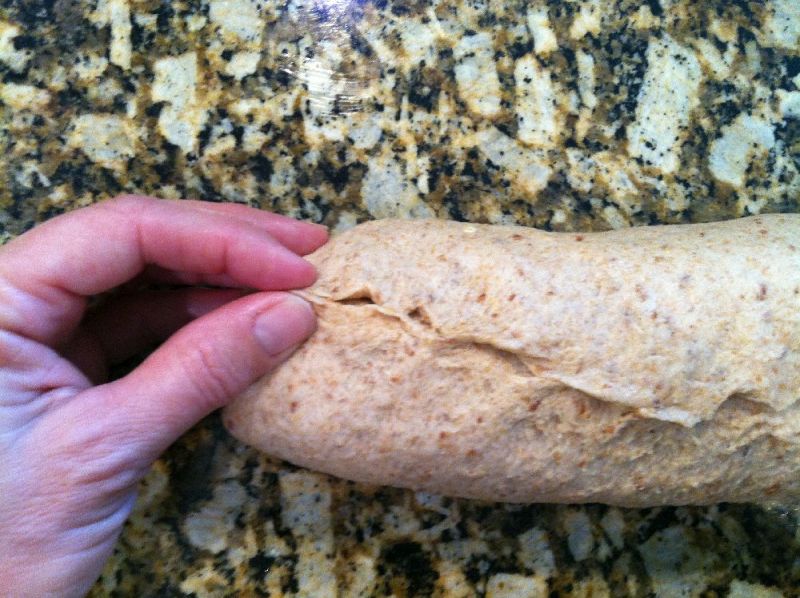
Shaping the dough
Starting rolling up your dough like a sleeping bag; pulling back gently with each curl of the dough. This creates surface-tension which will help your dough rise better. Pinch the seam, tuck under the ends and place your beautiful dough in the bread pan. Cover with plastic wrap or a light damp kitchen towel to rise. I prefer plastic wrap because is traps the heat and moisture better than a towel does.
Roll your dough
Pinch the seam
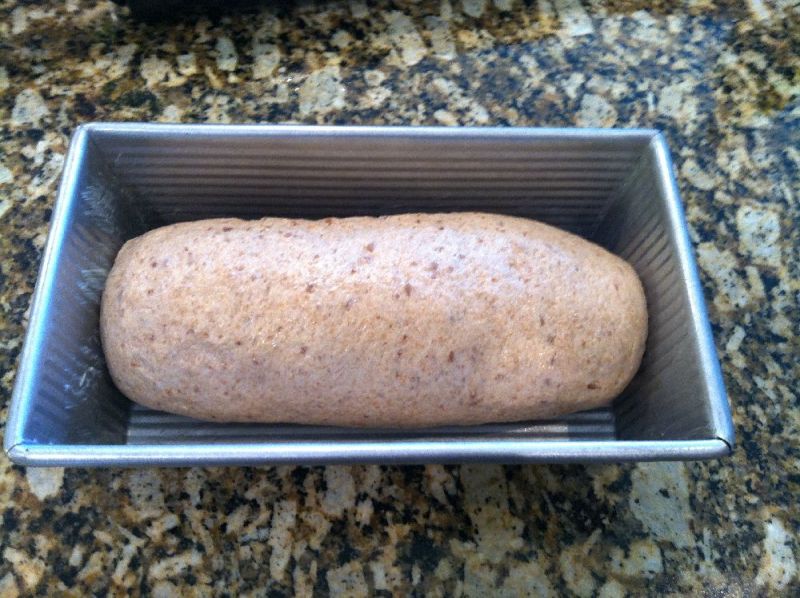
Tuck the ends, place in pan
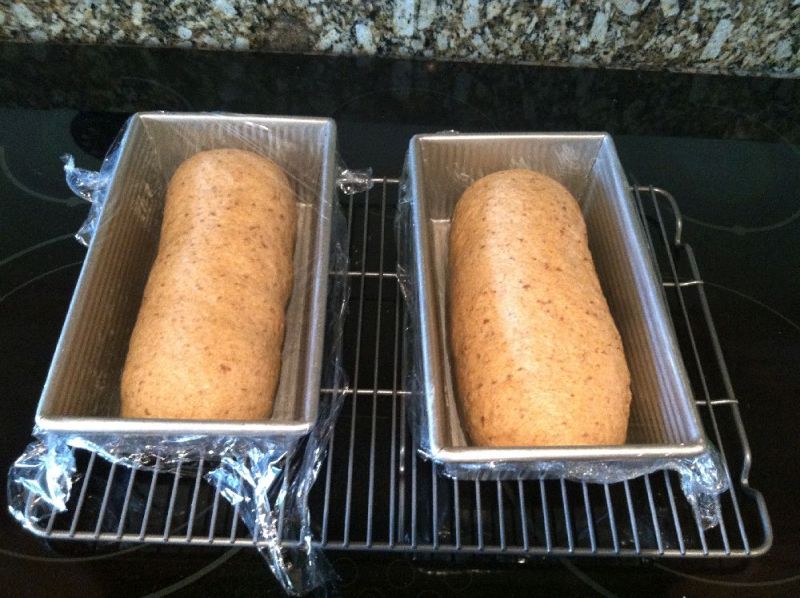
Rising:
Yeast dough usually needs to rise at least once, but not always. Simply roll, shape and place in pan. Cover with plastic wrap or a damp light towel and allow loaf to rise; rise until doubled. Following are some rising options:
Rising Dough on Stove Top or Counter Top – Place covered pans on a cooling rack or such and leave on the stove or counter top. The a cooling rack or an elevated pan aids in air circulation all the way around the pan for better rising. It is not recommended to rise dough filled pans directly on granite, etc. type surfaces; they are naturally cool, this will result in a slower rise and many times only the top of the dough will rise leaving the bottom dense and heavy. Make sure it is a draft-free space.
Oven – Without turning on the oven, place the covered pan in your oven with a pan of boiling water in the bottom or just the oven light on; close the door. The draft-free, warm, moist environment allows the dough to rise – “stretch” better. I do not recommend turning the oven on, then off and rising that way. This tends to be too hot and can deflate your dough.
Refrigerator – Yes, it can be done; you can rise your bread in the refrigerator for a slow rise (for double rise recipes). Again, place plastic covered bowl in refrigerator; rising for several hours or even over night. When ready, punch down dough, shape, place in bread pan, cover again and allow to rise at room temperature before baking.
Double Rise – Some recipes call for two rise times, one in the bowl and one in the pan. To rise in the bowl, simply turn out dough onto an oiled surface, knead a few times, form into a ball, place in a bowl large enough for dough to double in size, cover with plastic wrap or damp towel and allow to rise until double – about 30 minutes or more. Remove cover, punch down dough with your fist, turn out dough again on an oiled surface and shape as desired. Note: If using the Bosch Universal Plus Mixer or other mixer, no need to remove from bowl; simply place both covers on bowl or cover as above and allow dough to rise till double. When time is up, pulse a few times using the manual switch setting. Turn out dough and shape as desired.
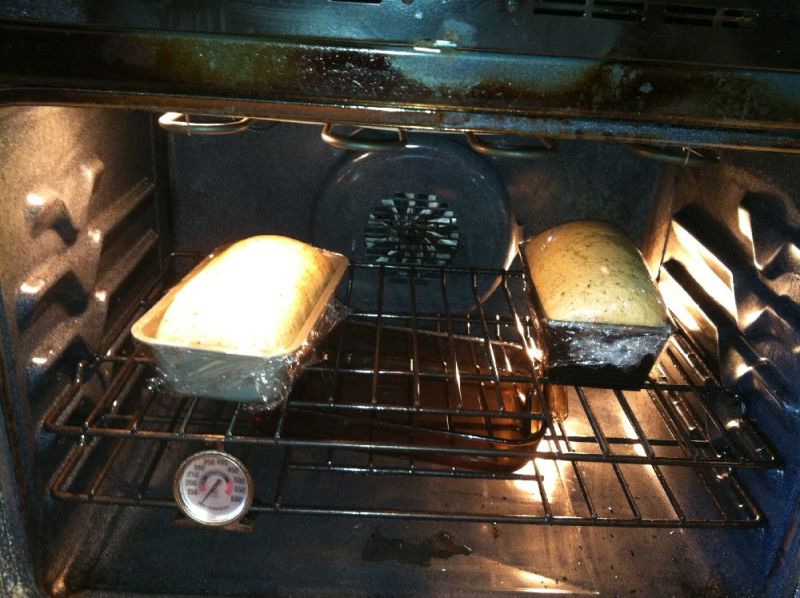
Baking:
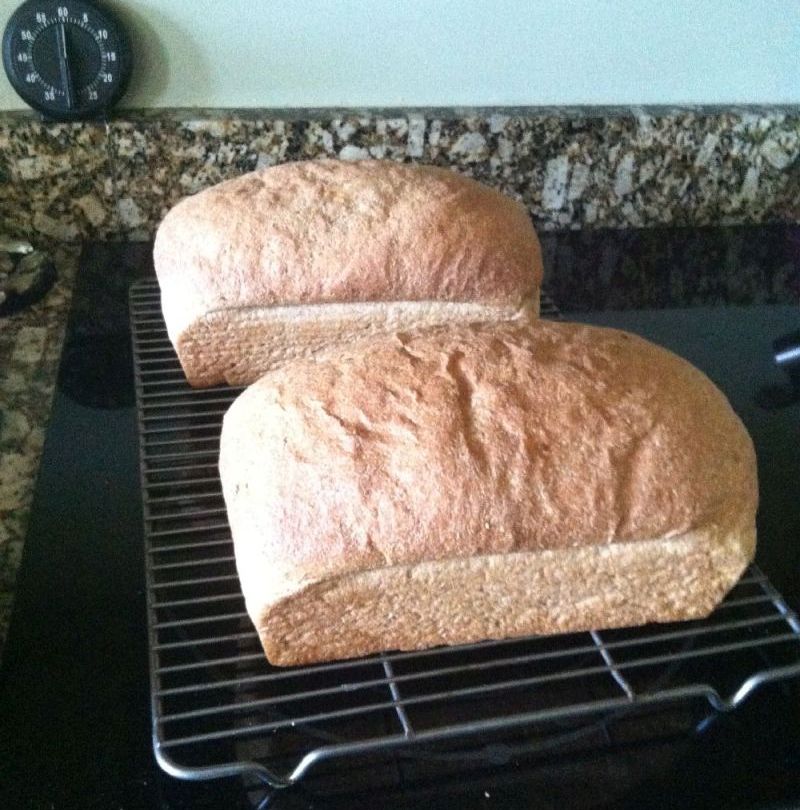
It is best to preheat your oven to the proper recipe temperature. Most loaf breads bake at 350 degrees for approximately 30-40 minutes. If you are using darker pans cut the temp back to 325 degrees. Loaf yeast breads are done when the internal temp reaches 190 degrees. Use your instant read thermometer sticking the probe in the center of the loaf. Remove from oven and place on a cooling rack. Cool for 5 minutes in the pan. Remove loaf from pan and continue cooling on rack. Loaf should sound hollow when tapped on the bottom. If you leave the loaf in the pan too long after baking it will become soggy; so, get that bread out of there. For a softer crust drape a damp towel over the top of the loaf.
Damp towel covered baked yeast loaves
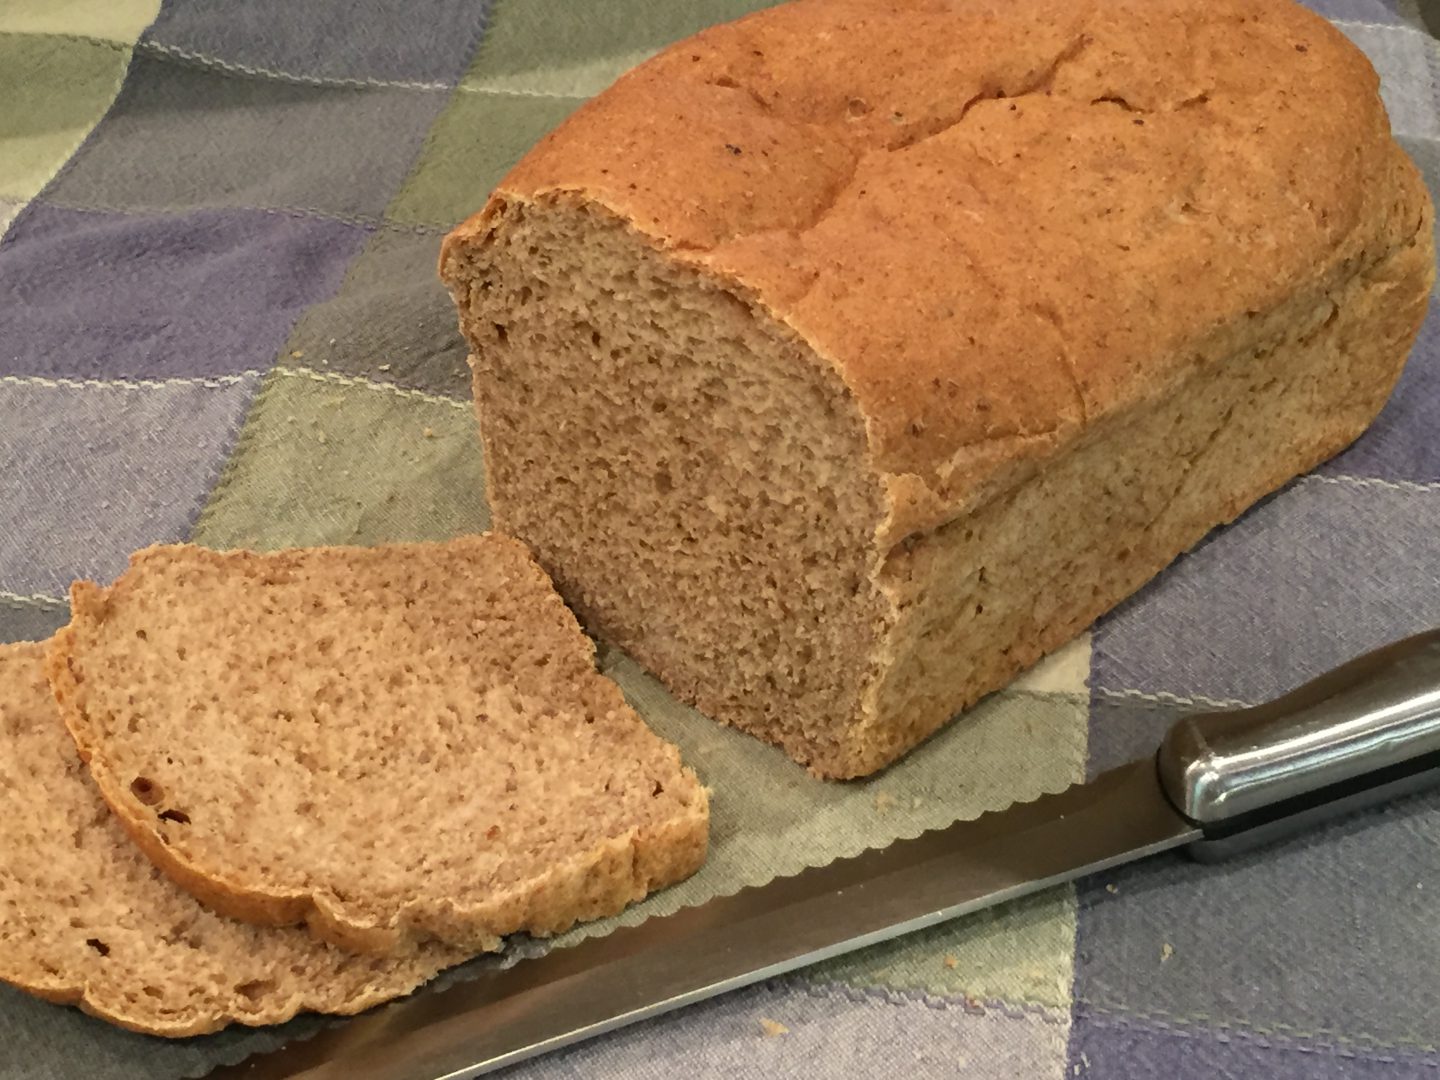
Where's the butter? It's time for a slice of that yummy goodness!
OK, let's get to it then; making some REAL bread using REAL ingredients.
You've got this!


Thanks for your blog, nice to read. Do not stop.
Thanks for the encouragement! So glad you came to visit.